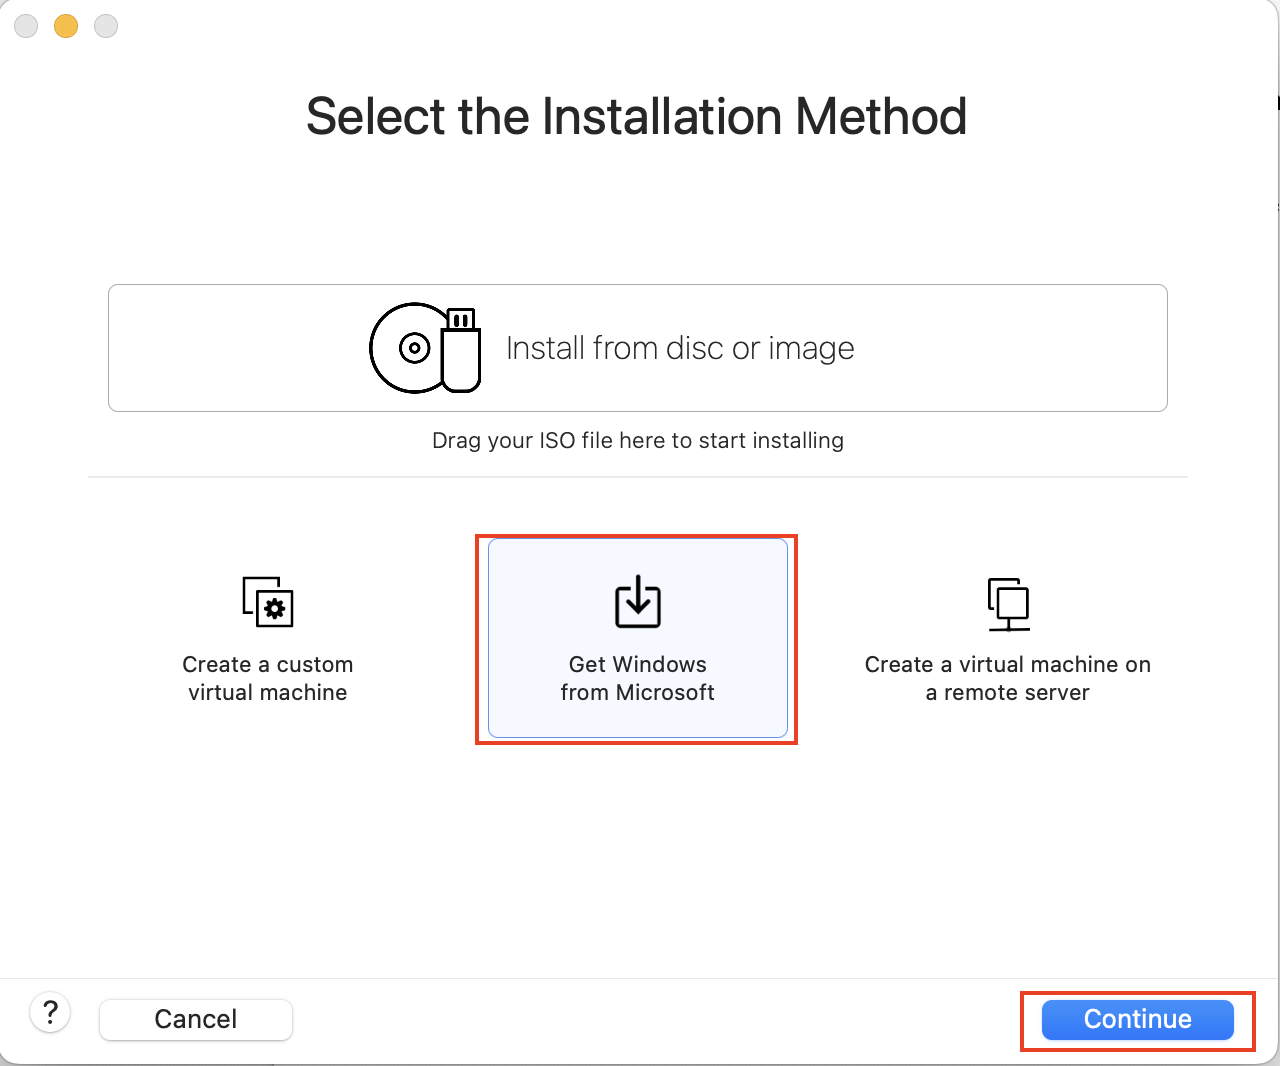
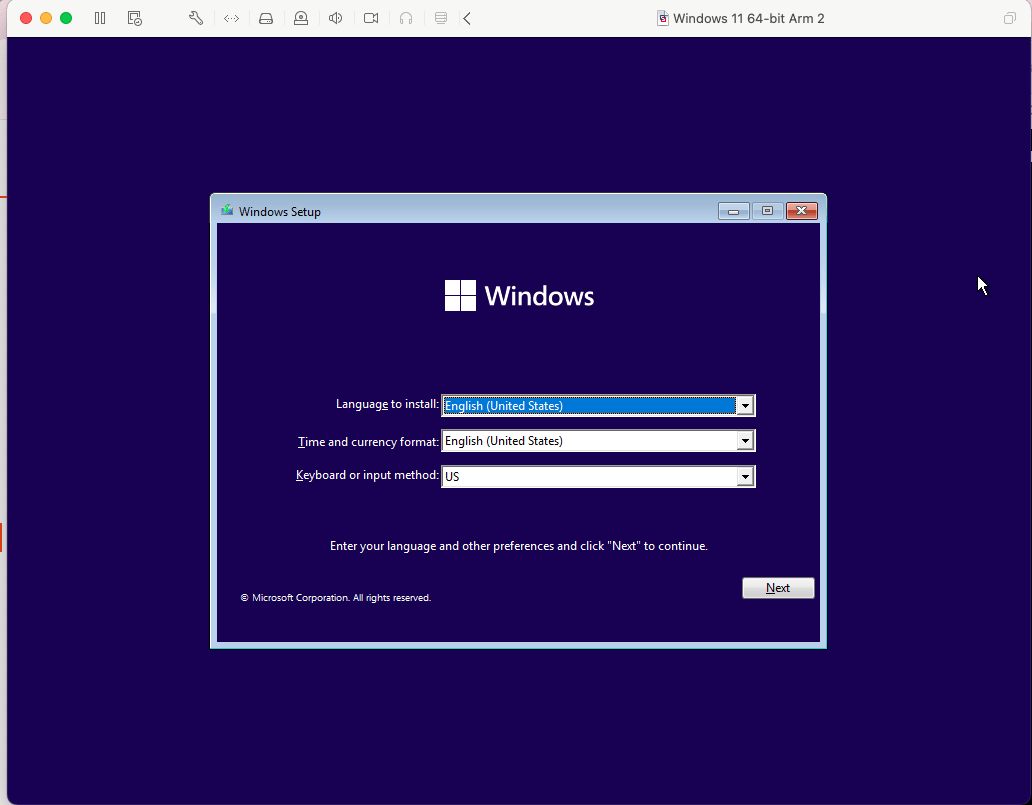
Please refer to these directions in order to get VMWare installed. Once the software is installed, open VMWare Fusion and follow the steps below:
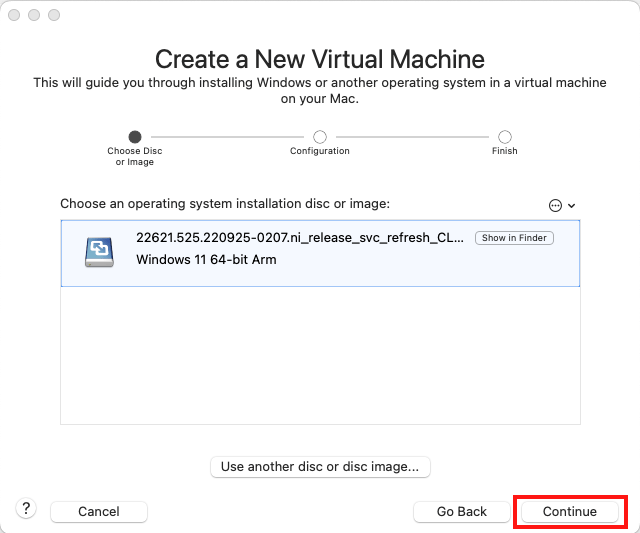
Keep clicking “continue” until you get to the final configuration screen and click “finish”.
IMPORTANT STEP – When the VM boots for the first time, you will see a message that says, “Press any key to boot from CD or DVD”. During this message, you must press any key on your keyboard.
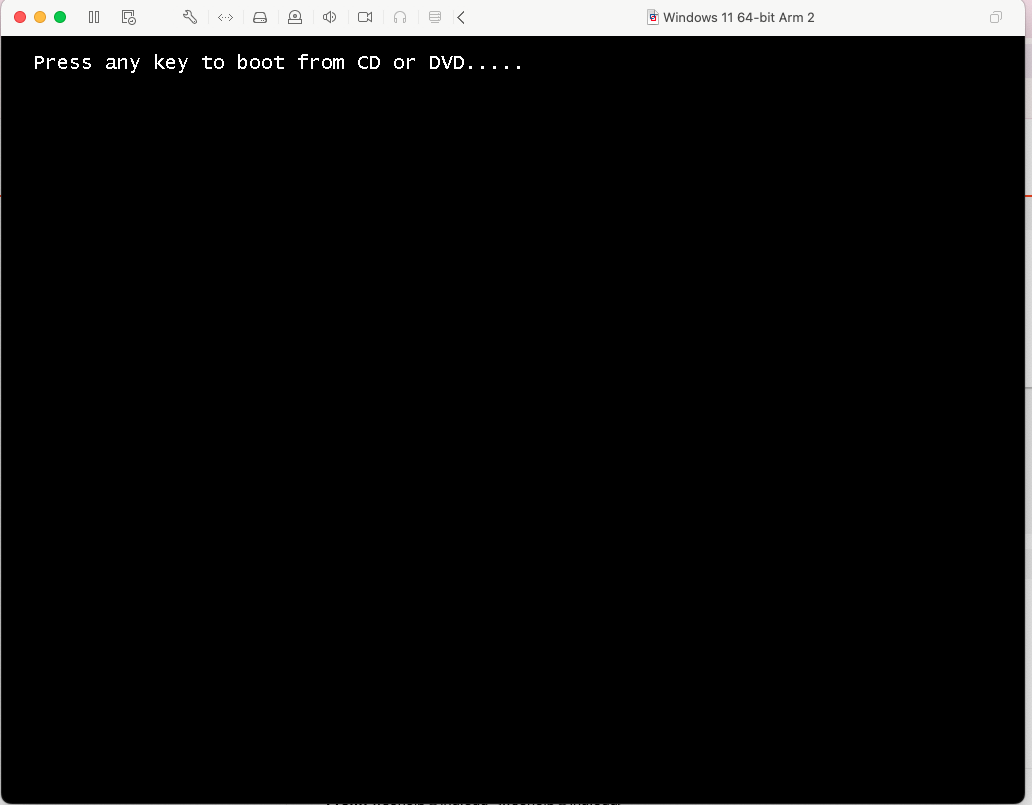
If you press a key in time, you will get to the Windows screen below. If you don’t press the key fast enough, it will display an error message. You will want to reboot the VM and try again.
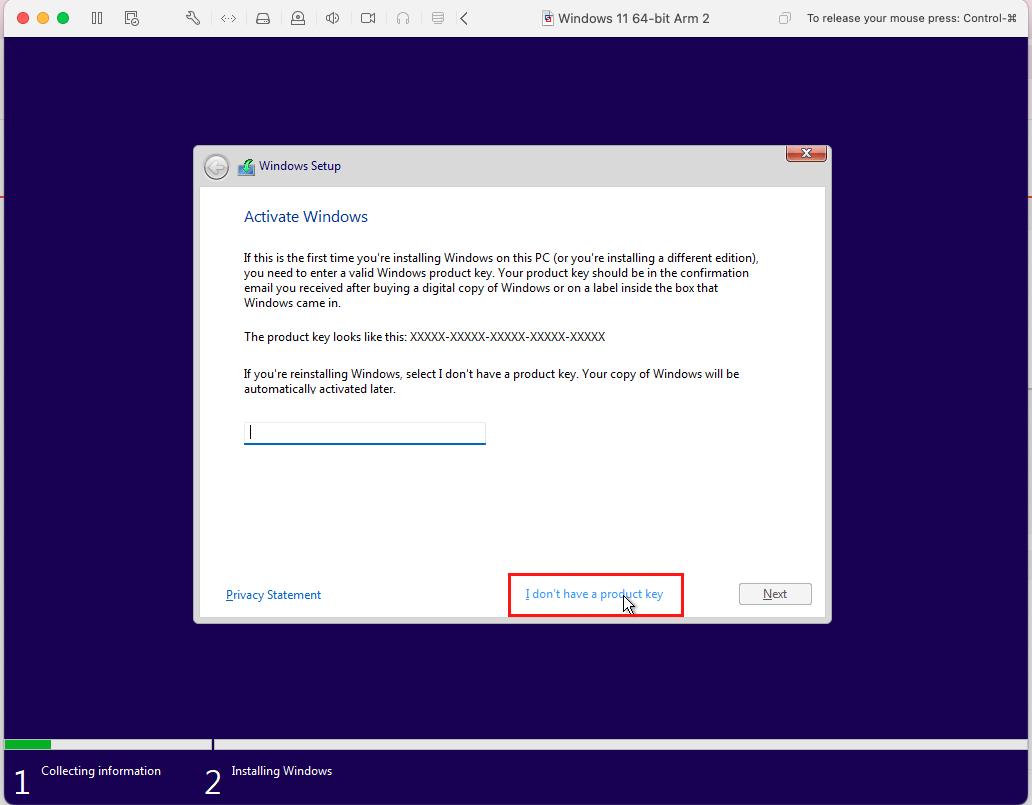
Unless you have purchased a Windows 11 activation key, click “I do not have an activation key”. If you have purchased a key, enter it here.
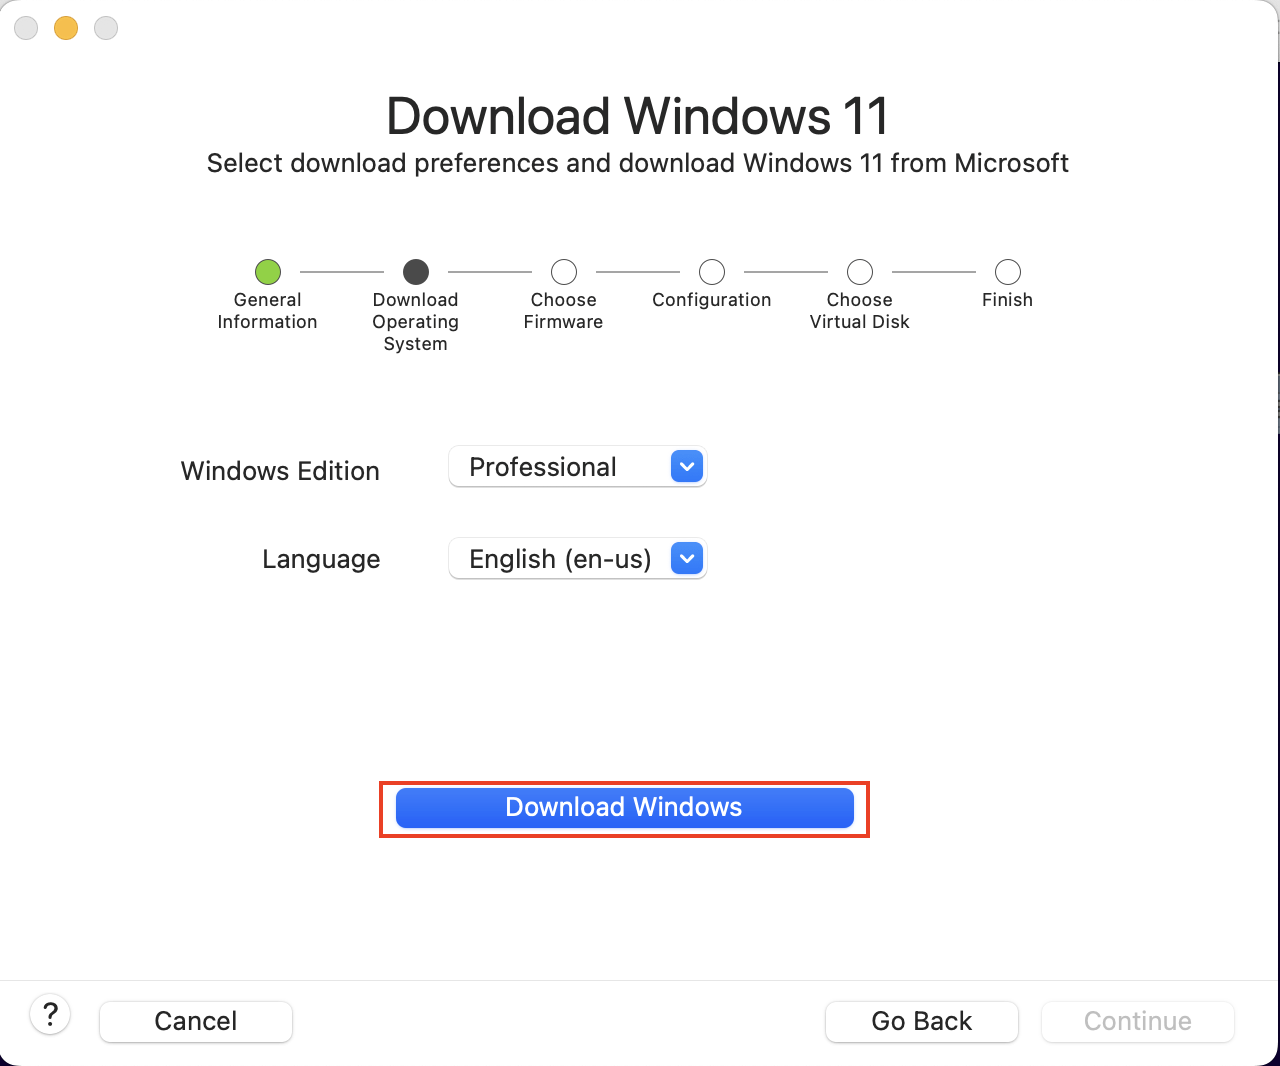
Note – A windows activation key is not required to set up a Windows VM.
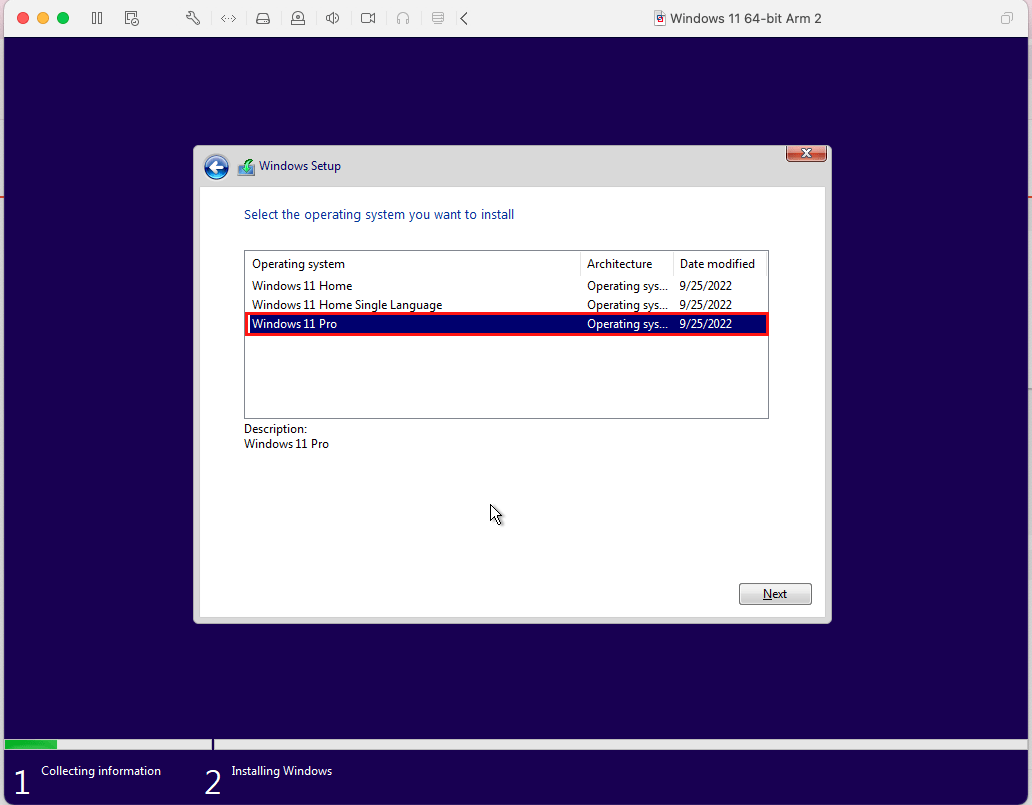
Select Windows 11 Pro
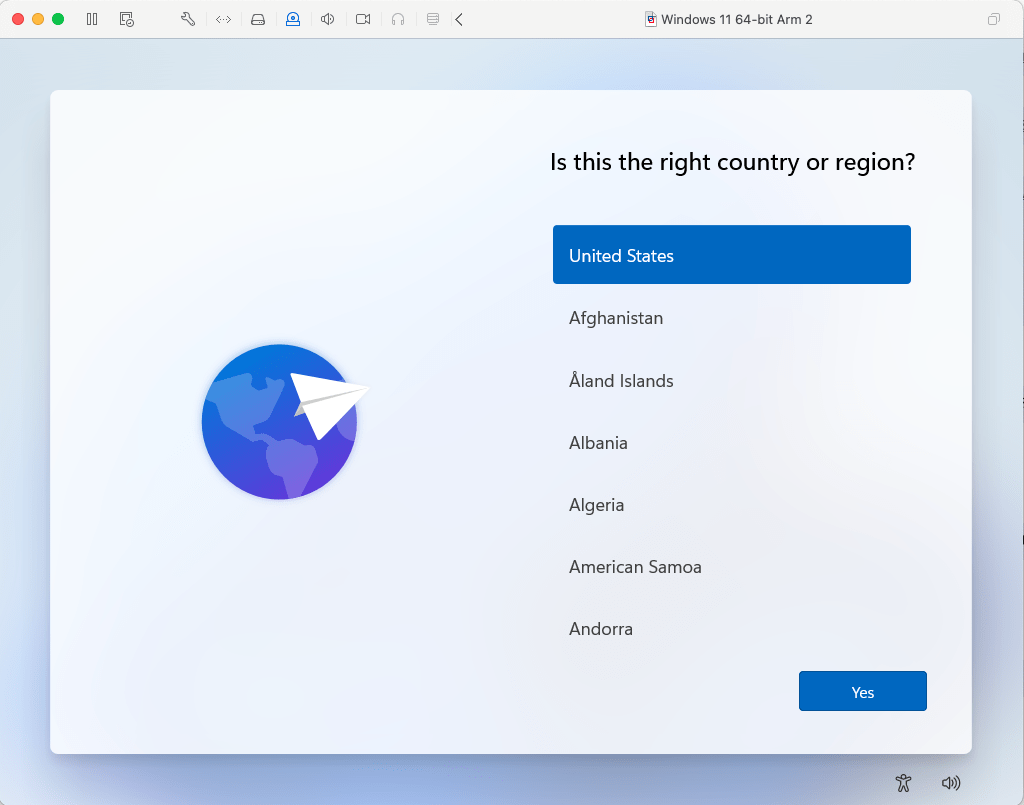
The installation of Windows is now finished. You will walk through the normal Windows set up process until you reach the desktop screen.